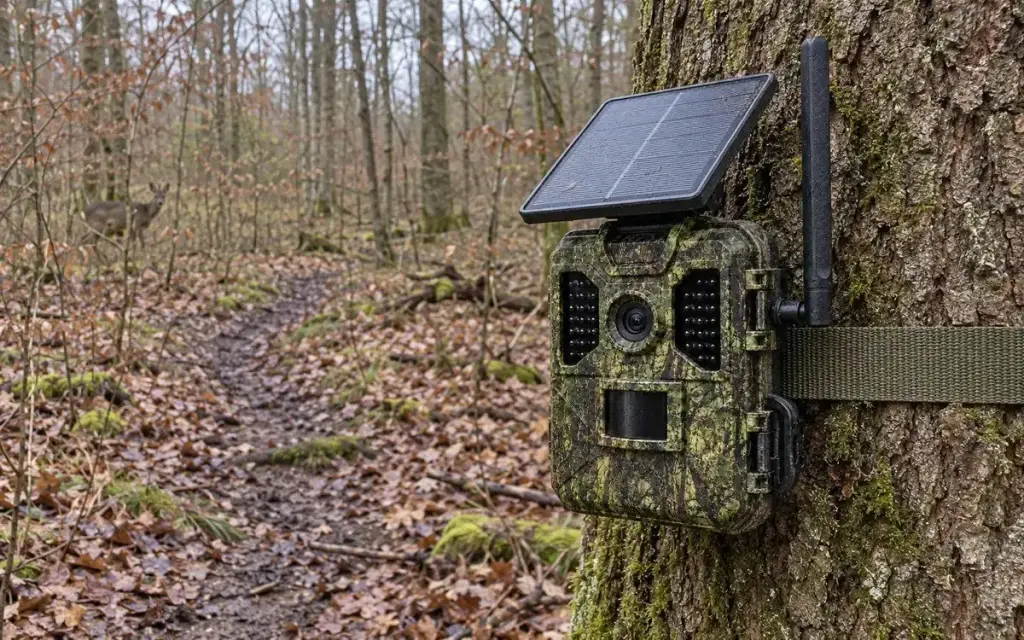
Guides · · 9 min read
Trail Camera Settings: Every Setting Clearly Explained
Empty pictures, missed animals, a full memory card? Here is how to set the sensitivity, interval, capture mode and night vision of your trail camera and check everything with a walk test.
You set up a trail camera correctly in five steps: set the date and time, choose the capture mode (photo, video or both), adjust the PIR sensitivity to the location, choose a suitable interval and finally do a walk test. Most problems, such as empty pictures, missed animals or a full memory card, come from the wrong sensitivity and interval values. In this guide you will learn what each trail camera setting is for and which values to start with.
Before you start: manual, memory card and power
Menus differ from one manufacturer and model to another. The same item may be called “PIR sensitivity”, “Sensitivity” or “Sensor level”. Keep the manual for your model to hand. The basic logic is the same on almost all trail cameras, and that is exactly what we explain here.
Before the first use, prepare the following:
- Insert the memory card and format it in the camera. Which card fits and why formatting in the camera matters is covered in our guide SD card for a trail camera.
- Make sure you have power. Insert fresh batteries or fully charge the battery. Background on batteries, rechargeable batteries and solar can be found in trail camera batteries and solar power.
- Set it up at home. Go through the menu calmly at the table, not in the rain at the tree.
- For 4G cameras: insert the SIM card and set up the app on your smartphone before you head into the woods or garden.
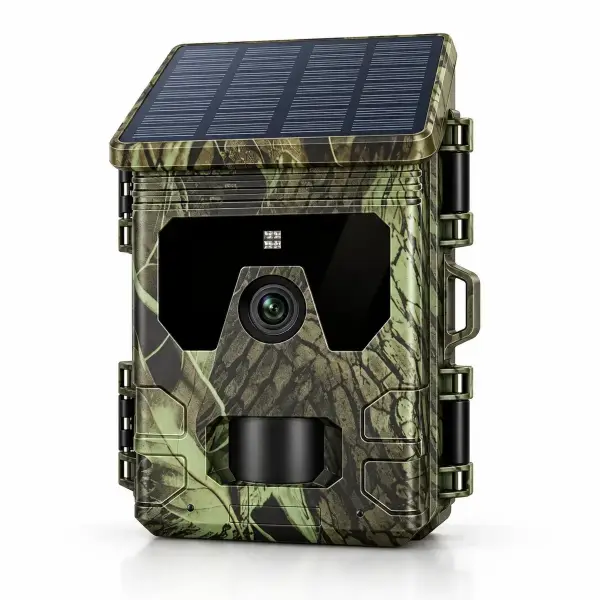
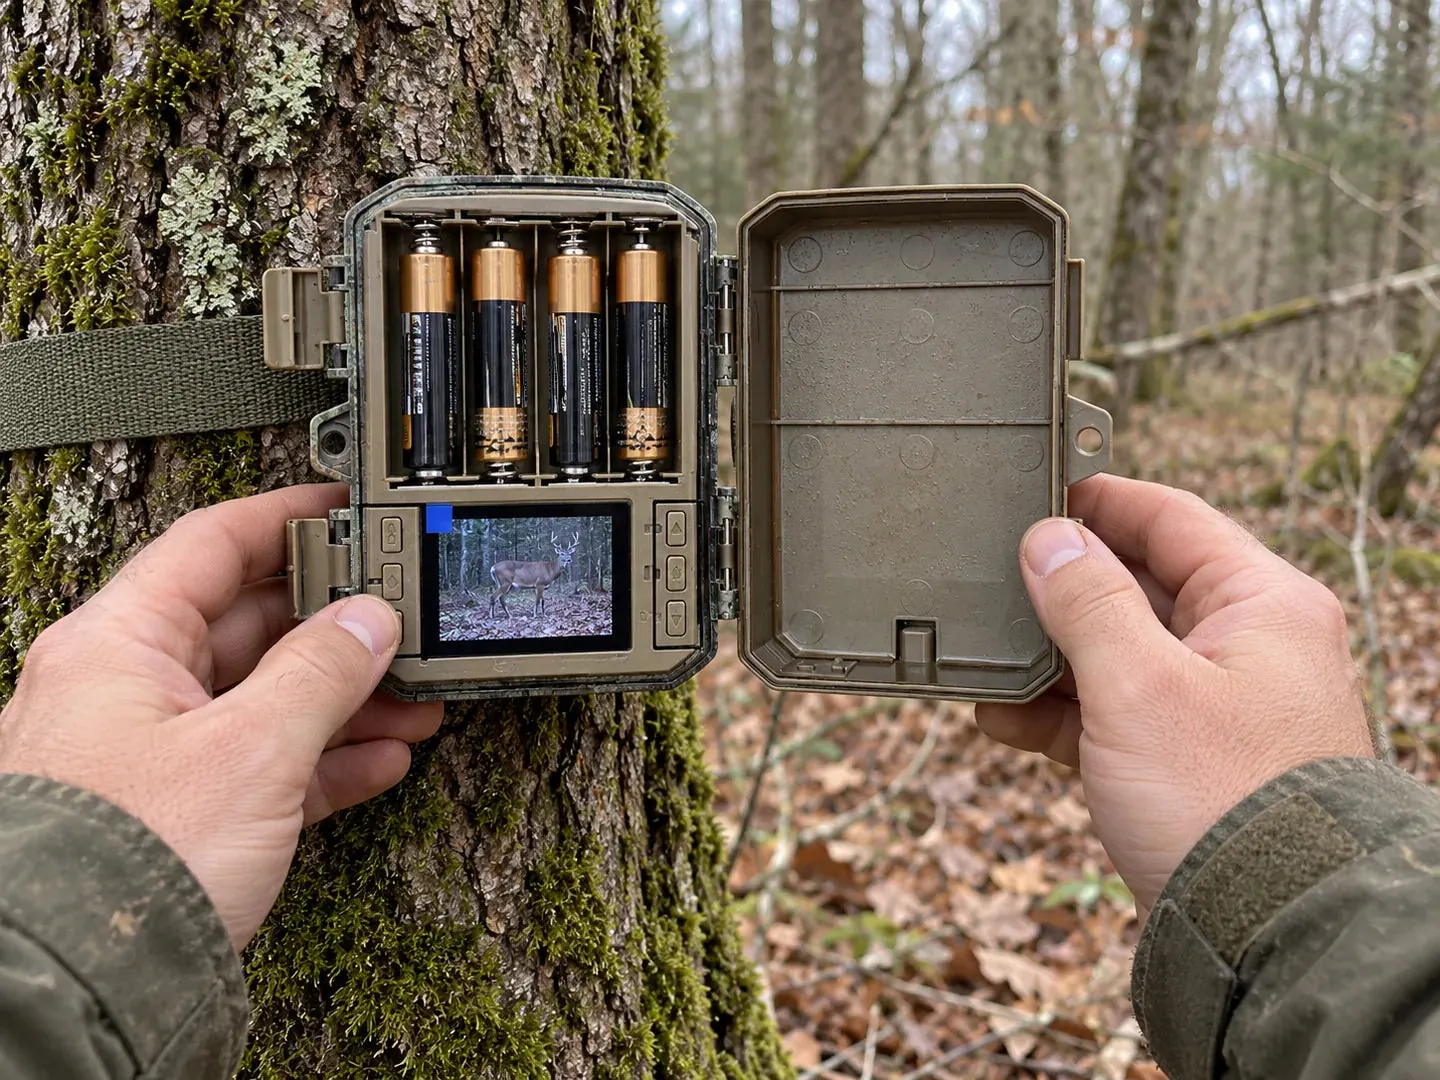
A built-in display is handy: with the Solar Trail Camera with Display you see the menu and recordings right on the spot on the 2.0-inch colour screen, with no app and no subscription.
Setting the date, time and timestamp
Set the date and time first. The timestamp on every picture later shows you when an animal came by. After a few weeks you will spot fixed habits, for example a fox that comes at almost the same time every night.
- Check the time after every clock change. Many cameras do not switch automatically between summer and winter time.
- Leave the timestamp switched on. Without it, recordings are hard to make sense of.
- Depending on the model, the stamp also shows the temperature or moon phase. Useful, but not essential.
Photo, video or both: choosing the capture mode
The capture mode determines what the camera saves after a trigger. It has a big impact on storage space and power consumption.
| Mode | Suitable for | Drawback |
|---|---|---|
| Photo | An overview of which animals come by; lots of triggers | Little information about behaviour |
| Burst (several photos per trigger) | Fast animals, a better chance of a sharp picture | Needs more storage than a single photo |
| Video | Watching behaviour, with sound depending on the model | Higher power and storage requirements |
| Photo and video | A still for the overview plus video for detail | Highest use of power and storage |
For videos, length is the most important setting. 10 to 20 seconds has proven a good starting value. Longer clips fill the card quickly and use power. With 4G cameras there is a further point: the more and the larger the files, the more data is used.
Resolution: higher is not always better
Many trail cameras offer photo resolutions above the actual sensor resolution. These values come from interpolation: the camera scales the image up. The file gets bigger, but no extra detail is created. An example from our range: the Solar Trail Camera with Display takes 20 MP photos natively and can be set up to 50 MP (interpolated). For most purposes the native resolution is enough.
It is similar for video. 4K delivers more detail than Full HD but needs much more storage. Choose the high resolution where you really need detail, for example to recognise individual animals. Simply checking whether something is moving at a spot is often fine at a lower setting.
Setting the PIR sensitivity correctly
The PIR (passive infrared) sensor reacts to the movement of heat sources against a cooler background. The bigger the temperature difference between the animal and its surroundings, the more reliably the camera triggers. In winter this difference is usually large; on hot summer days it is small.
- High: for small animals such as hedgehogs, martens or birds, for greater distances and for warm days.
- Medium: the right starting value for most locations.
- Low: for windy spots, places in full sun and large animals at short range.
High sensitivity comes at a price: the camera then also reacts to sunlit branches, warm air or moving grass. The result is lots of empty pictures and a battery that runs flat quickly.
Empty pictures? How to find the cause
- Branches, tall grass or leaves are moving in the picture.
- The camera faces the morning or evening sun.
- The sensitivity is too high for the location.
- There are heat sources in the detection zone, for example an exhaust vent or a sunny house wall.
- The animal was faster than the camera and had already left the frame. An angle from the side onto the trail or burst mode helps here.
How to choose the height, angle and direction is explained in our guide how to mount a trail camera and protect it from theft.
Interval: the pause between two triggers
The interval determines how long the camera waits after a capture before it can trigger again. It is the most important setting for avoiding a full memory card.
- Short interval (about 5 to 30 seconds): on trails and paths where animals only pass through briefly. That way you will not miss a second animal.
- Long interval (about 1 to 5 minutes): at feeding spots where an animal stays for a long time. Otherwise you get hundreds of almost identical pictures.
With 4G cameras, a longer interval is especially worthwhile at busy spots: every capture sent costs data and power.
Night mode and infrared
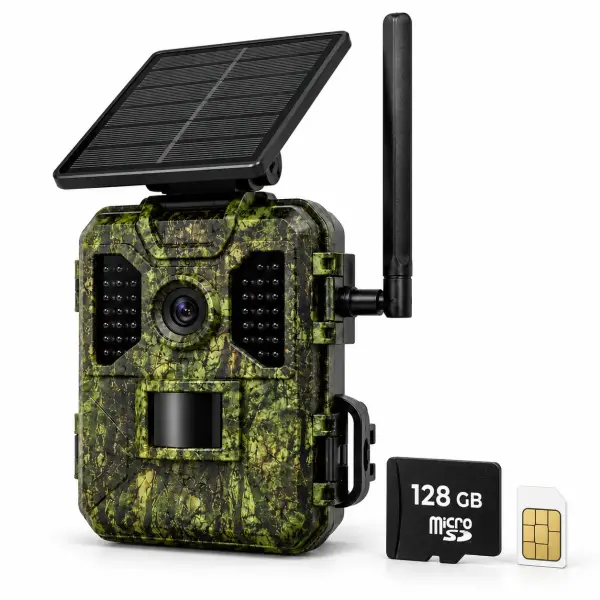
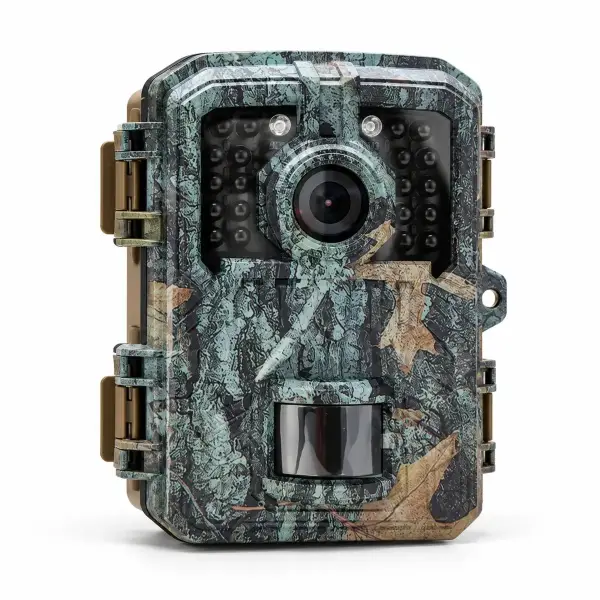
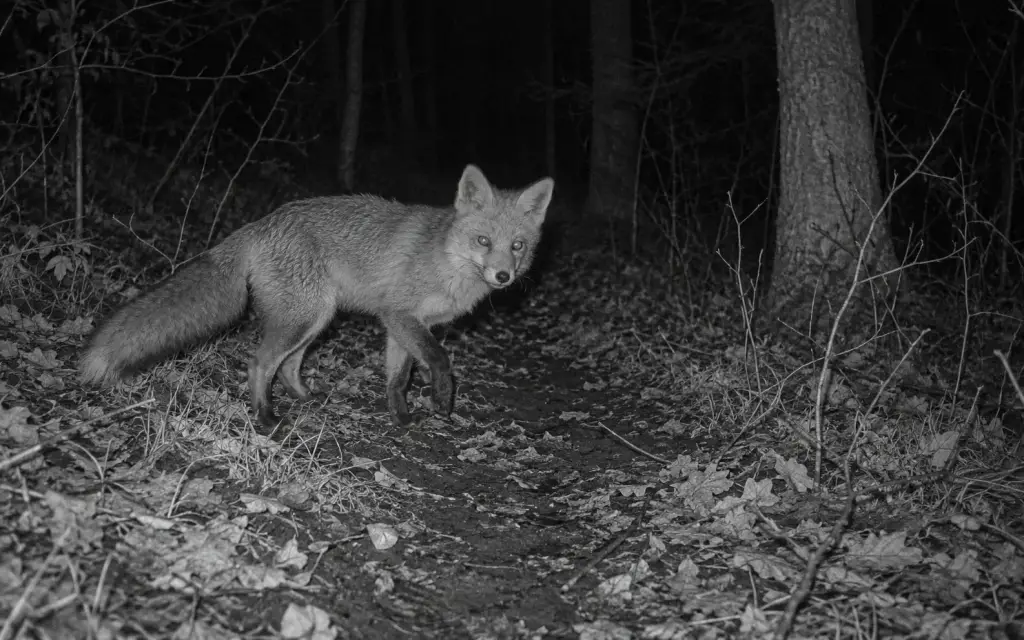
At night, trail cameras work with infrared LEDs, so the recordings are in black and white. On cameras with 940 nm infrared (no glow) the light is invisible to the human eye. Our 4G Trail Camera 4K with Solar Panel, for example, uses invisible 940 nm infrared. The Solar Trail Camera with Display works with 36 invisible IR LEDs, and the Mini Trail Camera Full HD with 20 IR LEDs and night vision up to 15 m.
Depending on the model, you can choose the infrared strength or a preference for short exposure times. Short exposure reduces motion blur; longer exposure brightens the image. Also make sure there are no bright or reflective surfaces close in front of the lens, such as a sign or a white wall. They overexpose the night image. Find out more in our guide trail camera night vision and infrared.
Time-lapse and operating hours
In time-lapse mode, the camera takes a picture at fixed intervals, regardless of movement. This makes sense on large areas such as field edges, where animals often stand beyond the range of the motion sensor. You can also document plant growth this way. Not every camera offers this function. Check your model’s manual.
Some cameras also let you set a time window in which they are active. If you only want to record at night in the garden, this prevents hundreds of daytime pictures of family and guests.
The walk test: how to check your settings
Only a walk test shows whether sensitivity, angle and height really suit the location. Allow ten minutes for it.
- Fix the camera at the planned height and direction.
- Switch on test mode if there is one. On many models a light then shows when the sensor detects movement. If there is no test mode, simply let the camera record normally.
- Walk across the picture at different distances. A PIR sensor detects movement across the frame better than movement straight towards the camera.
- Walk through the picture once bent over or crouching, to imitate the height of small animals.
- Look at the recordings on the display, in the app or on a computer.
- Correct the angle or sensitivity and repeat the test.
- Check the recordings again after the first night.
Recommended starting settings by use
The following values are guidelines to start with. Adjust them to your results after the first few days.
| Use | Mode | Sensitivity | Interval |
|---|---|---|---|
| Garden (hedgehog, fox, marten) | Photo and video, 10–20 s | High | 10–30 s |
| Game trail in the woods | Video, 10–20 s, or burst | Medium | 30–60 s |
| Feeding spot or bait site | Burst | Medium | 1–5 min |
| Property or cabin with 4G | Photo | Medium | 1–2 min |
Which WildenoCam suits the way you work?
- Set up and view right on the spot: The Solar Trail Camera with Display and the Mini Trail Camera Full HD have a 2.0-inch display. Both work without 4G and without an app; the recordings go to the microSD card.
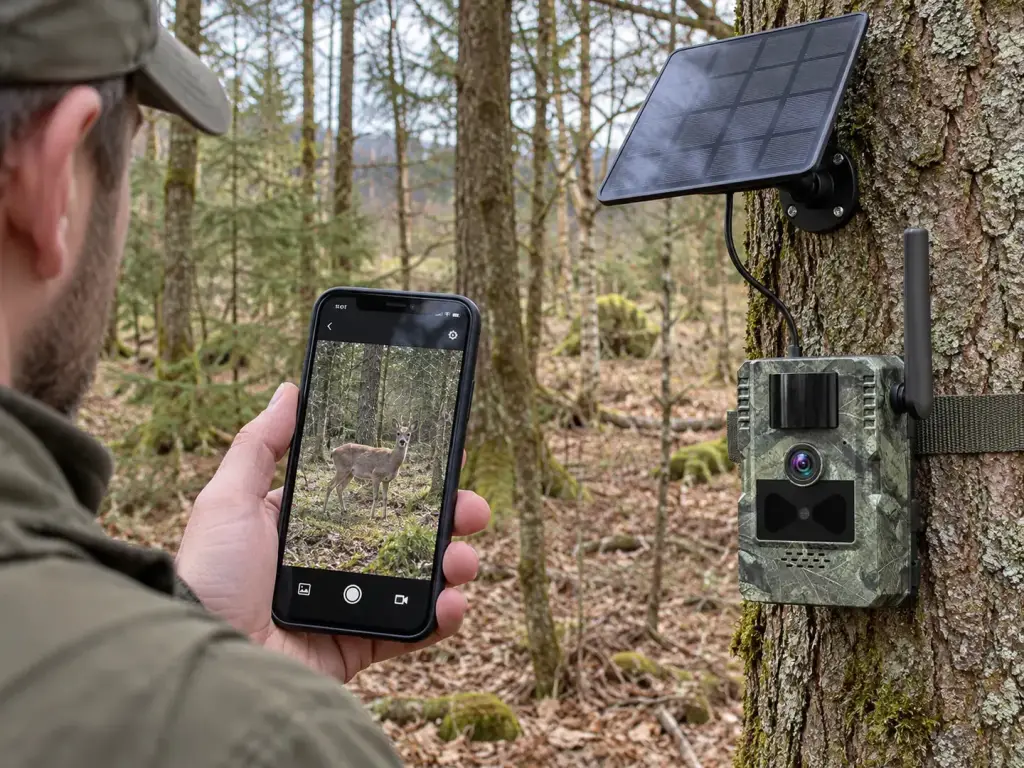
- Recordings straight to your smartphone: The 4G Trail Camera 4K with Solar Panel sends a notification via the app when it detects movement and offers live view. A SIM card and a 128 GB memory card are included.
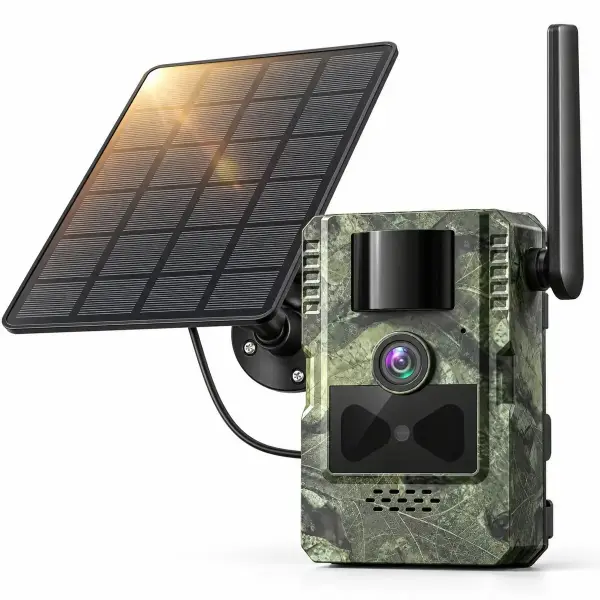
- Listen and speak: The 4G Solar Trail Camera 2.7K with Two-Way Audio transmits via 4G and covers a wide area with its 120° field.
You can compare all models in our overview of trail cameras.
Conclusion: set it up properly once, then watch reliably
With the right time, medium sensitivity, a suitable interval and a walk test, you avoid the typical beginner’s mistakes. If you like to check settings and pictures right at the tree, the Solar Trail Camera with Display, no subscription is a good choice: the display, solar panel and battery are built in. You have a 30-day right of return with free returns and a 3-year warranty. If you have questions about the settings, our customer service can help Monday to Friday, 9 am to 6 pm, via our contact page.
Frequently asked questions
What is the right PIR sensitivity for a trail camera?
Start with the medium level. For small animals such as hedgehogs or birds, and on warm days, a high level makes sense. On windy or sunny spots, choose a low level to avoid empty pictures.
Why does my trail camera take so many empty pictures?
Usually branches or grass are moving in the picture, the camera faces the sun or the sensitivity is too high. Check the field of view, lower the sensitivity and do a new walk test.
What interval should I set?
On trails where animals only pass through briefly, about 5 to 30 seconds is suitable. At feeding spots where animals stay a long time, 1 to 5 minutes makes sense so that the memory card does not fill up with almost identical pictures.
Do I need to reset the time after the clocks change?
On many trail cameras, yes, because they do not switch automatically between summer and winter time. Check the time after every clock change so that the timestamp is correct.
Photo or video: which uses more power?
Videos use much more power and storage than photos, especially at night with infrared. To save battery and card space, use photos or short videos of 10 to 20 seconds.
Why is the animal often already half out of the picture?
The animal was faster than the trigger. Point the camera at the trail from the side rather than head-on, use burst mode and look for a short trigger time. The 4G Trail Camera 4K and the Solar Trail Camera with Display, for example, trigger in about 0.2 seconds.