Guides · · 8 min read
Trail Camera Night Vision: Infrared, No Glow and Sharp Night Shots
How does a trail camera see in the dark? We explain infrared, the difference between 850 nm and 940 nm and how to get clear night-time pictures.
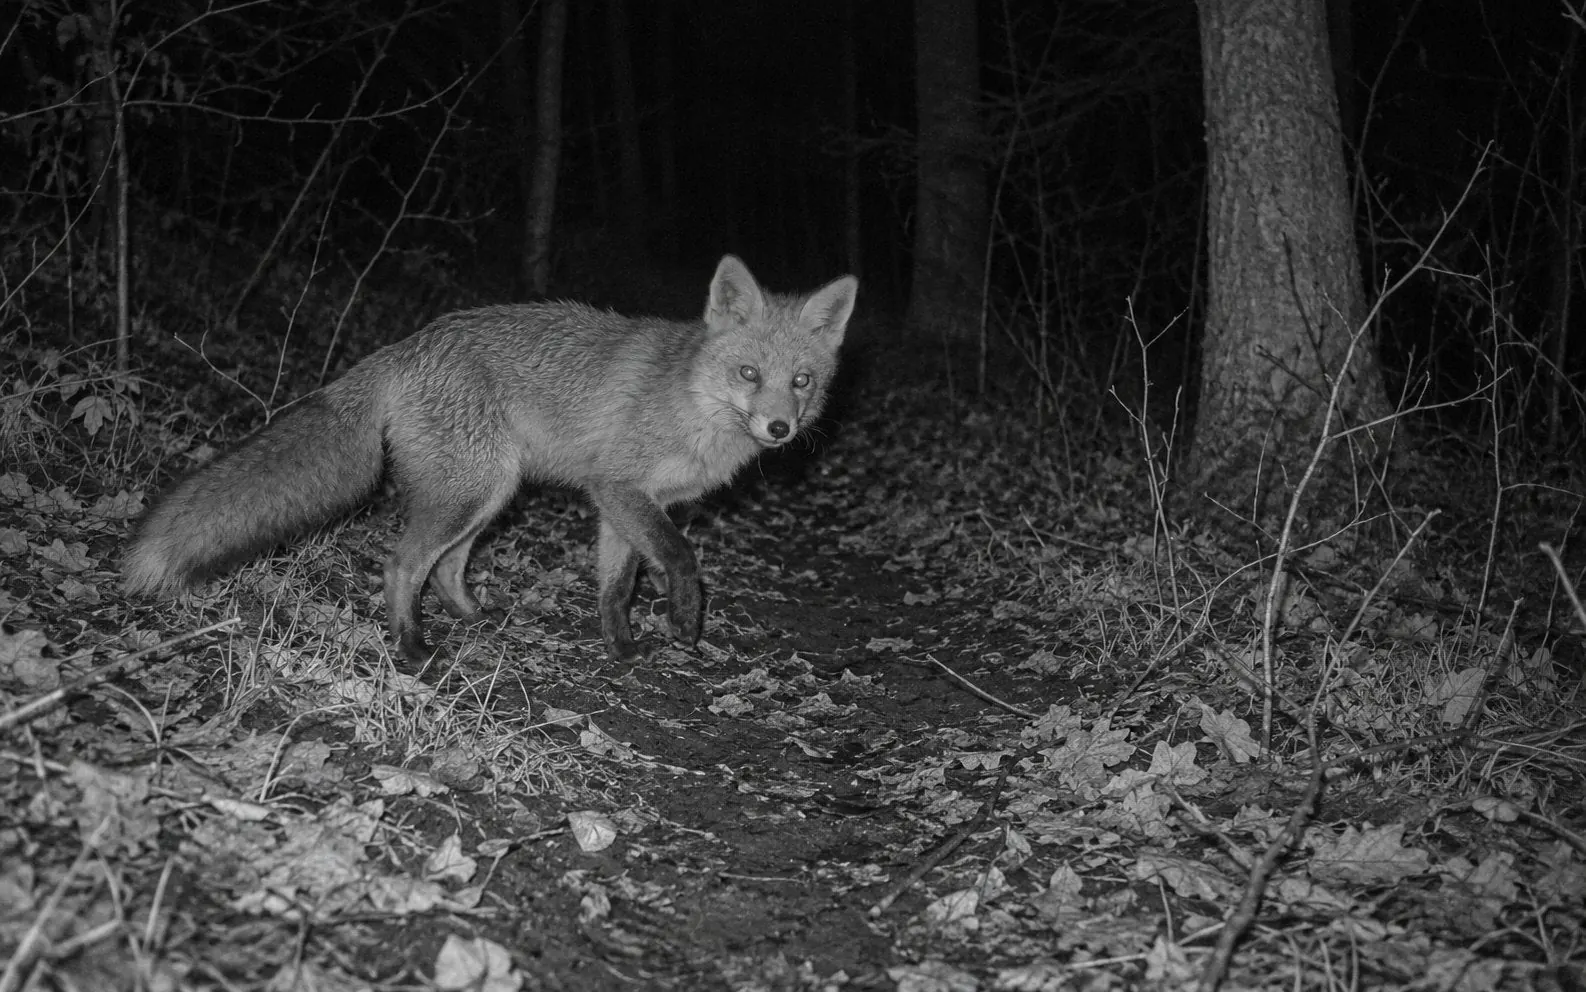
A trail camera sees at night with infrared light: IR LEDs light up the scene and the sensor records black-and-white pictures. 850 nm (low glow) usually gives slightly brighter pictures and more range but glows faintly red. 940 nm (no glow) is practically invisible to the human eye and therefore less conspicuous. Whether a night vision trail camera delivers good pictures, however, depends just as much on location, distance and settings.
How trail camera night vision works
During the day a trail camera works like a normal digital camera and delivers colour pictures. When it gets dark, it automatically switches to night mode. On most models three steps take place:
- A light sensor detects dusk and activates night mode.
- An infrared cut filter in front of the image sensor flips out of the way. Only then can the sensor pick up infrared light.
- When the motion sensor (PIR) triggers, the IR LEDs switch on and light the scene during the recording.
Infrared light lies beyond the visible spectrum. The human eye perceives light up to roughly 700 to 750 nanometres. Above that it quickly becomes invisible to us, but not to the camera sensor.
Why night pictures are black and white
Infrared light contains no colour information that the sensor can make sense of. That is why all infrared night recordings are in black and white or greyscale. This is not a fault in the device but a matter of physics. Colour night pictures are only possible with visible light, such as a white flash. Animals and people notice that immediately, though.
The “infrared flash” is not a flash in the classic sense
The term infrared flash is widely used. It refers to the IR LEDs lighting up during the recording. For photos they light up only briefly, for videos for the whole length of the clip. That costs power: lots of night-time videos drain batteries much faster than daytime photos. Read more in our guide trail camera batteries and solar power.
850 nm or 940 nm: low glow and no glow compared
The wavelength of the IR LEDs determines how visible the camera is at night and how bright the pictures turn out. The two common variants are 850 nm and 940 nm.
| Feature | 850 nm (low glow) | 940 nm (no glow) |
|---|---|---|
| Visibility of the LEDs | faint red glow when looking straight at it | practically invisible to the human eye |
| Picture brightness | usually brighter | usually a little darker with the same LED set-up |
| Range | usually a little longer | usually a little shorter |
| Conspicuousness | can attract attention | very discreet |
| Typical use | observation away from paths, longer distances | garden, property, places at risk of theft |
Low glow (850 nm)
At 850 nm the camera sensor is more sensitive to the light. The pictures are therefore usually brighter, and night vision reaches a little further. The drawback: anyone looking straight at the camera sees a faint red glow during the recording. On remote hunting ground this is often not a problem. Near paths or houses it can give the camera away.
No glow (940 nm), also known as black flash
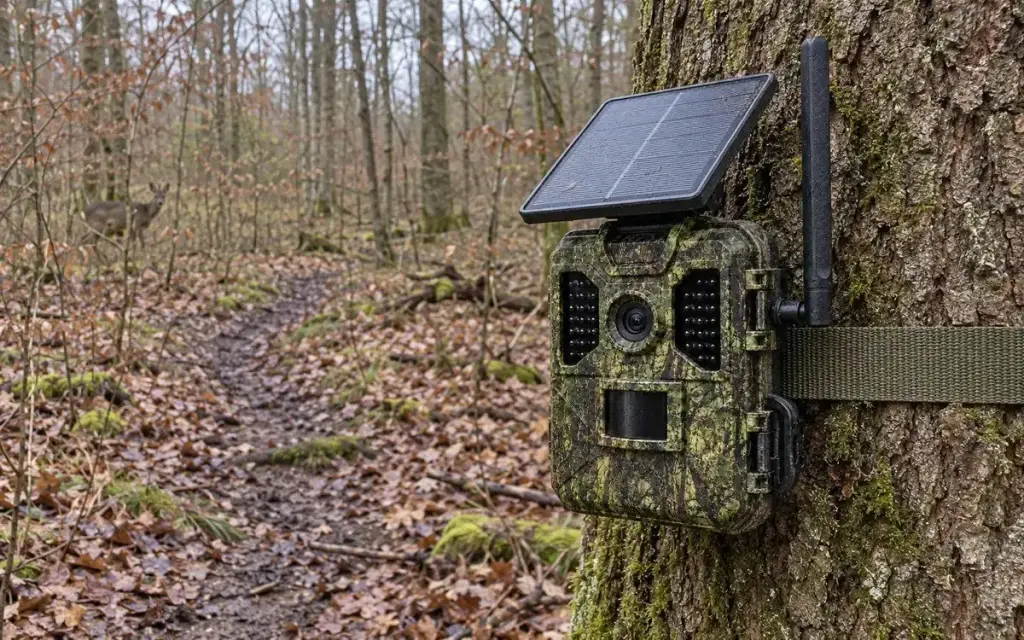
At 940 nm the glow is practically undetectable for people. Retailers often call this “black flash” or “black IR”. It has nothing to do with UV black light; it is simply invisible infrared. The price of discretion: with the same set-up, pictures are usually a little darker and the range a little shorter. If you value discretion or the camera hangs somewhere people pass by, a no glow trail camera is the better choice. Tips on discreet placement can be found in our guide how to mount a trail camera and protect it from theft.
And how do wild animals react?
How well individual animal species perceive infrared light has not been clearly established for every species. What is certain is that a visible glow can catch people’s attention. For shy animals, other factors usually matter more: your scent on the camera, noise and frequent check visits to the spot. So change the memory card less often and calmly.
How far can a trail camera see at night?
Manufacturers’ figures for night vision range apply under good conditions. In practice, the usable range depends on several factors:
- Number and power of the IR LEDs: More LEDs generally light further and more evenly.
- Wavelength: 850 nm usually reaches a little further than 940 nm.
- Surroundings: In an open meadow there is no background to reflect light back. The picture looks darker than in front of the edge of a wood.
- Weather: Rain, fog and snowflakes reflect the infrared light and reduce visibility.
- Size and coat of the animals: You will recognise a deer at a greater distance than a hedgehog.
Experience shows that the best night pictures are taken when the animals are about 3 to 10 metres from the camera. Too close and the picture is overexposed; too far and it becomes dark and grainy.
Night vision on our models
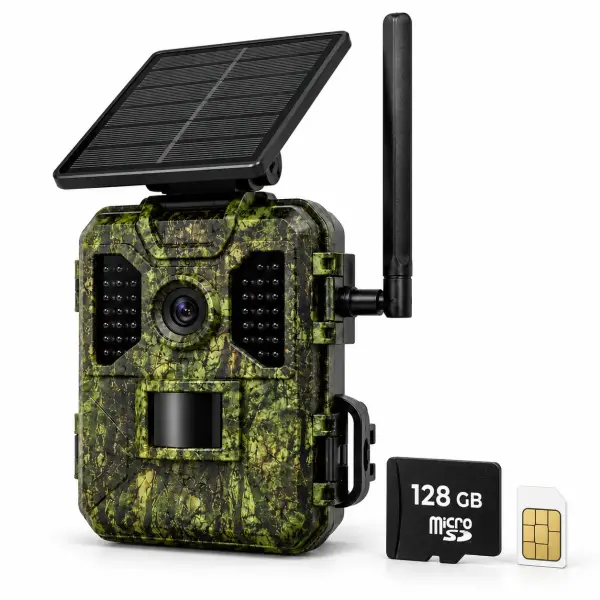
- The 4G Trail Camera 4K with Solar Panel uses invisible 940 nm infrared (no glow). The PIR sensor detects movement up to 19 m, and the trigger time is approx. 0.2 s.
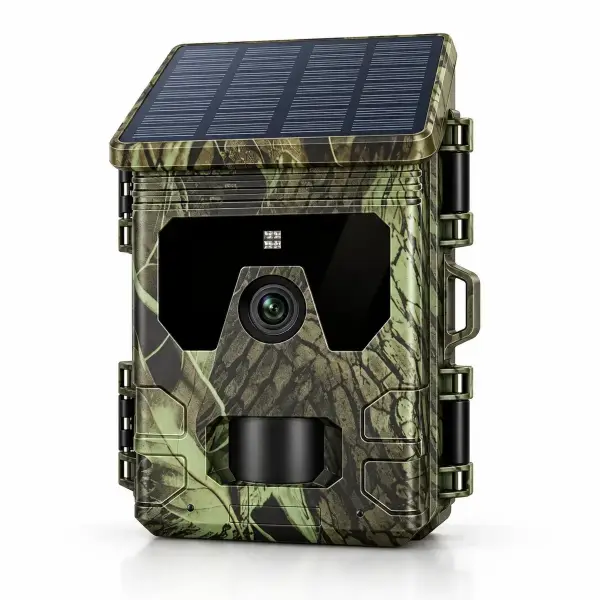
- The Solar Trail Camera with Display works at night with 36 invisible IR LEDs and detects up to 20 m at night.
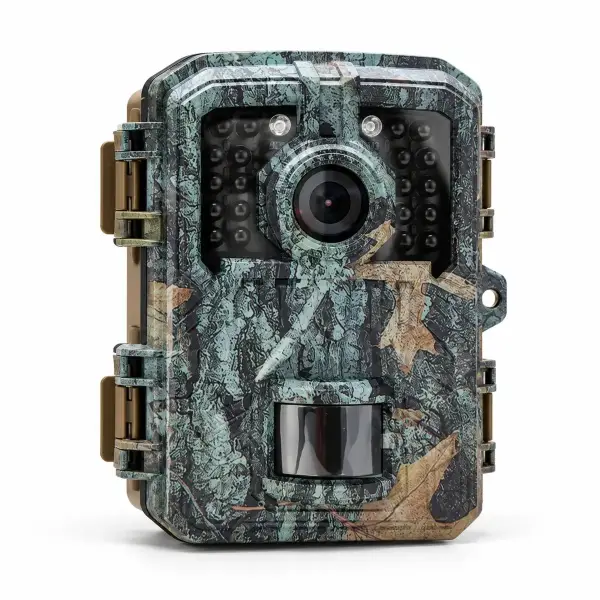
- The Mini Trail Camera Full HD has 20 IR LEDs and sees up to 15 m at night.
- The 4G Solar Trail Camera 2.7K with Two-Way Audio records 2.7K videos with sound at night using infrared.
Typical problems with night pictures, and what helps
Animals appear as white blobs
If an animal is very close to the camera, it is overexposed by the infrared light. Face and coat then look white and without detail. The fix: hang the camera so that animals pass a few metres away, not right in front of it.
Bright foreground, dark background
Blades of grass, twigs or leaves right in front of the lens strongly reflect the IR light. The exposure is then set for the bright foreground, and the actual subject disappears into darkness. Keep the first few metres in front of the camera clear. Only cut back plants where you are allowed to.
Blurred, unsharp animals
At night the camera exposes for longer than during the day. Fast movements therefore blur more easily. This is the case with almost all trail cameras. It helps to mount the camera firmly and angle it so that animals walk towards it diagonally rather than straight across the picture. For night recordings, video mode often gives better results, because you see the animal in several frames.
Bright dots and “ghosts” in the picture
Raindrops, snowflakes, insects and dust are lit up by the infrared light and appear as bright dots or haze. Cobwebs in front of the lens are another common cause. Check the lens on every visit and clean it carefully with a soft cloth.
Filming through a window
A trail camera behind a pane of glass barely works at night. The glass reflects the infrared light and the picture becomes bright and milky. In addition, the PIR sensor generally cannot detect heat through glass. The camera belongs outdoors.
Only black pictures
The motion sensor sometimes reaches further than the night vision. An animal triggers the camera but is outside the IR range, so the picture stays black. Move the camera closer to the spot you want to watch. A nearly empty battery can also lead to weak night pictures.
Checklist for good night pictures
- Choose a distance of about 3 to 10 metres from the spot you are watching.
- Keep the first few metres in front of the camera free of grass and twigs.
- Tilt the camera slightly downwards, not towards the open sky.
- Clean the lens and remove cobwebs.
- Set short video clips for night recordings if you want to see movement.
- Adjust the PIR sensitivity. Our guide trail camera settings explained shows you how.
- Do a walk test at dusk and check the first night pictures.
- Charge the battery or change the batteries in good time, because the IR LEDs need power.
Which WildenoCam suits night recordings?
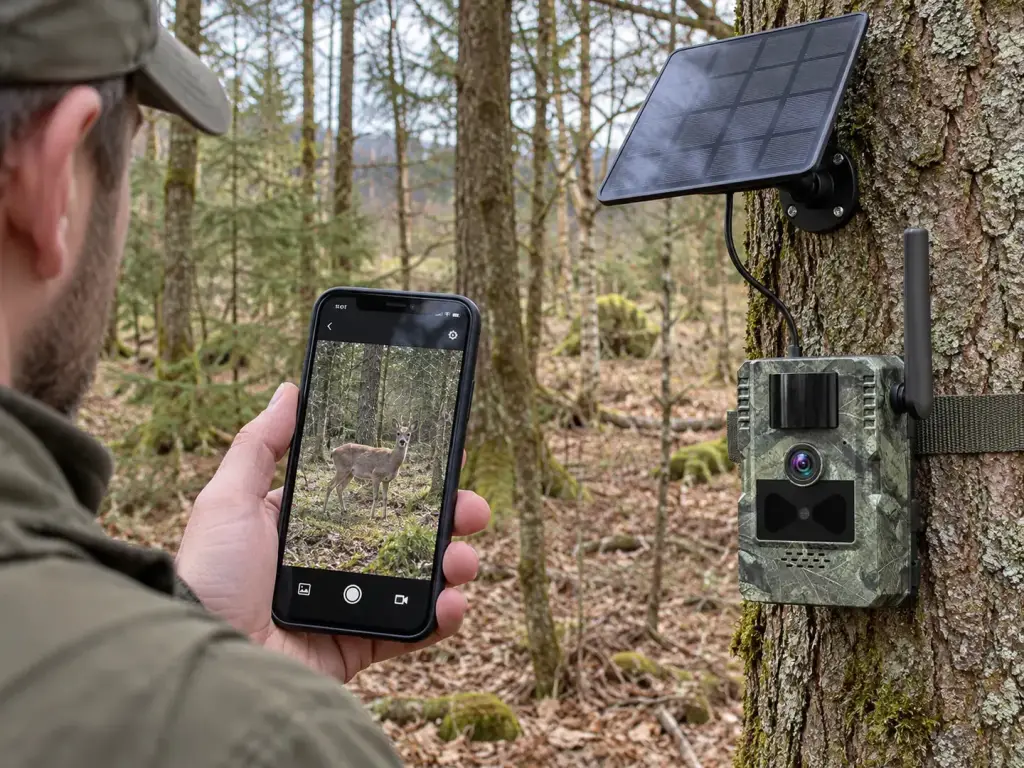
If you want to watch as discreetly as possible at night and see the recordings straight away, the 4G Trail Camera 4K with no glow infrared is the obvious choice. It sends a notification to the app when it detects movement, offers live view on your smartphone and charges its battery via the integrated 4 W solar panel.
If you want no subscription and no app, choose the Solar Trail Camera with Display: the pictures go to the microSD card and can be viewed directly on the 2.0-inch colour screen. For the garden, for example to watch hedgehogs, foxes or martens at night, the small Mini Trail Camera with 4 AA batteries is often enough. Our guide wildlife camera for the garden describes suitable spots. You will find all models at a glance under WildenoCam trail cameras.
For discreet night recordings with pictures straight to your phone, we recommend the 4G Trail Camera 4K with Solar Panel. It is dispatched within 24–48 hours, delivery to Ireland is free, and you get a 30-day money-back guarantee and a 3-year warranty.
Frequently asked questions
Can you see an infrared trail camera at night?
That depends on the wavelength. At 850 nm (low glow) you see a faint red glow when looking straight at the camera. At 940 nm (no glow) the light is practically invisible to the human eye.
Why does my trail camera only take black-and-white pictures at night?
At night the camera lights the scene with infrared light. This light contains no usable colour information, so infrared night recordings are always black and white. This is normal and not a defect.
What is a black flash on a trail camera?
Black flash is a common name for invisible 940 nm infrared (no glow). It has nothing to do with UV black light. The LEDs light up during the recording without people seeing a glow.
How far does a trail camera’s night vision reach?
That depends on the number and wavelength of the IR LEDs, the surroundings and the weather. Manufacturers’ figures apply under good conditions. The best night pictures are usually taken at a distance of about 3 to 10 metres from the animal.
Why are my night pictures blurred?
At night the camera exposes for longer, so fast movements blur more easily. Mount the camera firmly, angle it diagonally to the trail and use video mode for night recordings.
Does a trail camera work behind a window at night?
Hardly. The glass reflects the infrared light and the picture becomes bright and milky. In addition, the PIR sensor generally cannot detect heat through glass. So mount the camera outdoors.