Guides · · 8 min read
How to Mount a Trail Camera and Protect It from Theft
Height, angle and compass direction make the difference between good and poor pictures. We show you how to mount your trail camera properly and protect it effectively from theft.
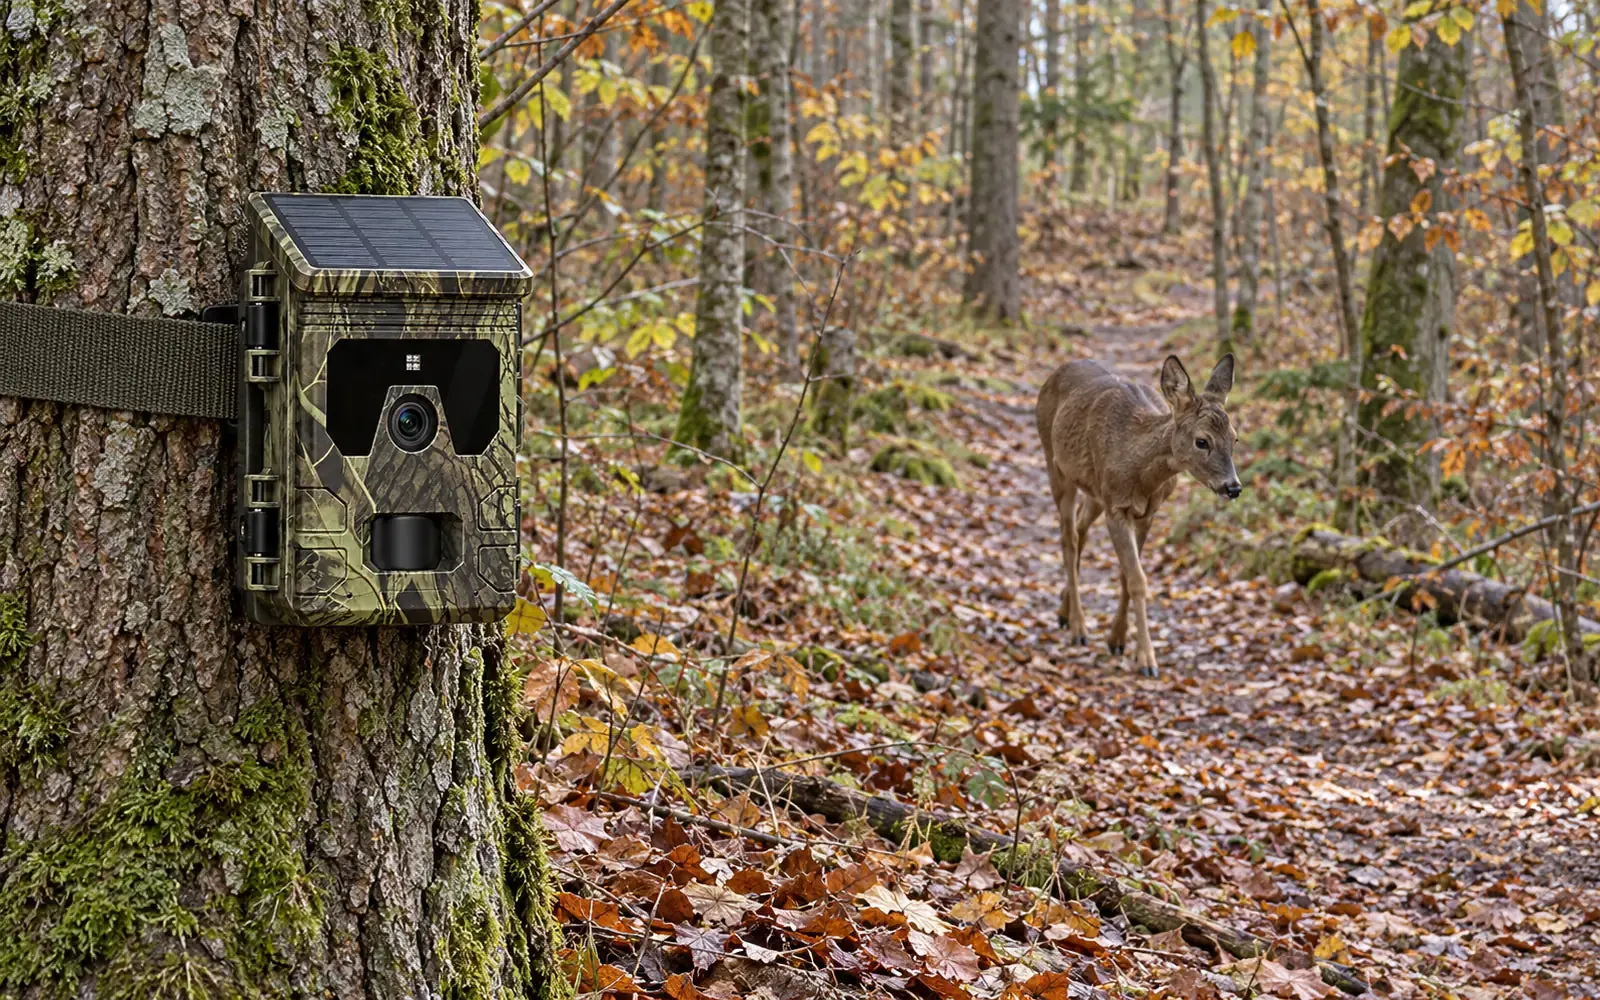
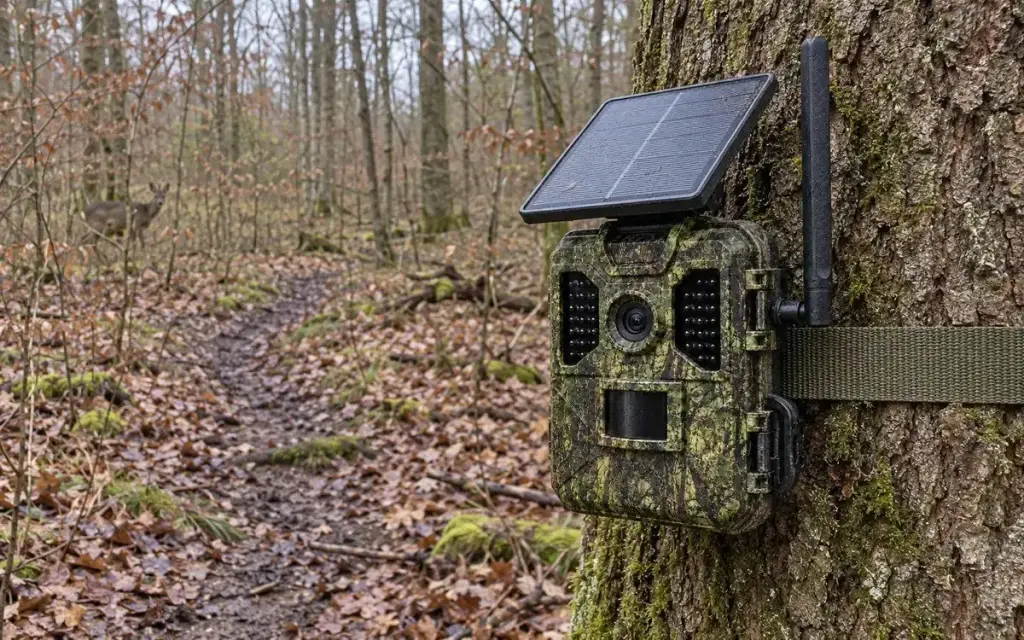
Mount a trail camera for deer or foxes at a height of about 1 to 1.5 metres, tilted slightly downwards and at an angle to the trail. The lens should not face east or west into the low sun, and there must be no branches swaying in front of the camera. When it comes to trail camera theft protection, three things help most: a cable lock around the trunk, an inconspicuous location and a 4G camera that sends your pictures straight to your phone.
How to mount a trail camera: the right height
The right height depends on which animals you want to watch. Rule of thumb: the camera should aim at roughly the chest-to-back height of the animals you expect.
| Target | Recommended height | Note |
|---|---|---|
| Deer, foxes and similar animals on a trail | approx. 1–1.5 m | tilt slightly downwards |
| Small animals in the garden (hedgehog, marten) | approx. 30–60 cm | shorter distance to the spot you are watching |
| Birds at the feeder | roughly at the height of the feeding spot | keep a few metres away |
| Extra protection against theft | approx. 2–3 m | tilt clearly downwards, do a walk test |
A camera mounted higher is harder to spot and to reach. On the other hand, the detection zone on the ground becomes smaller and animals are seen more from above. So when mounting high, always check with a walk test that the camera still triggers reliably.
Angle and distance to the trail
Many failed pictures come from a camera that is badly aligned. These basic rules have proven themselves:
- At an angle rather than head-on: Point the camera at the trail or path at an angle of about 30 to 45 degrees. If an animal crosses right in front of the lens, it is often already out of the frame before the recording starts.
- A distance of a few metres: A distance of about 3 to 8 metres from the spot you are watching usually gives the best pictures, by day and by night.
- Slightly downwards: The camera should not look into the open sky. A small wedge or a piece of branch behind the housing helps to tilt it.
- Firm hold: Choose a sturdy tree or post. A thin trunk swaying in the wind moves the picture and can cause false triggers.
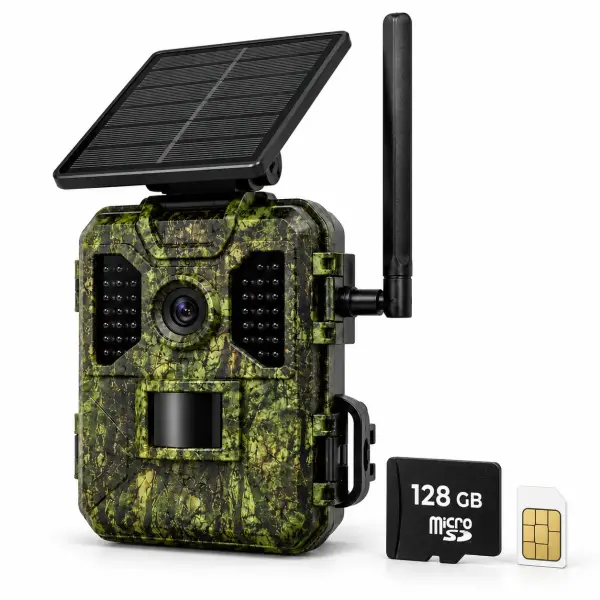
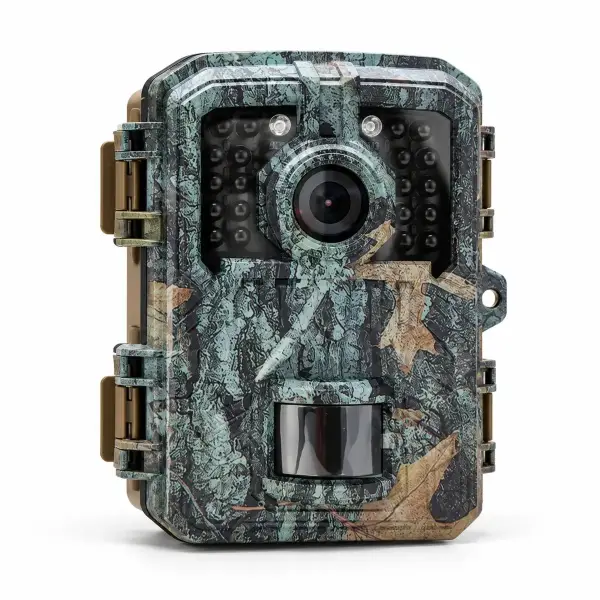
Trigger times differ between models. Our 4G Trail Camera 4K with Solar Panel triggers after approx. 0.2 s, the Mini Trail Camera after 0.5 s. The slower a camera triggers, the more important the angled alignment.
Compass direction: not into the sun
If the lens faces east or west, it looks straight into the low sun in the morning or evening. The result is overexposed pictures, backlight and false triggers. In Ireland, as across Europe, facing north is ideal, because the sun then never shines directly into the lens. If that is not possible at the location, tilting the camera slightly downwards protects against the worst of the backlight.
Solar trail cameras: balancing panel and lens
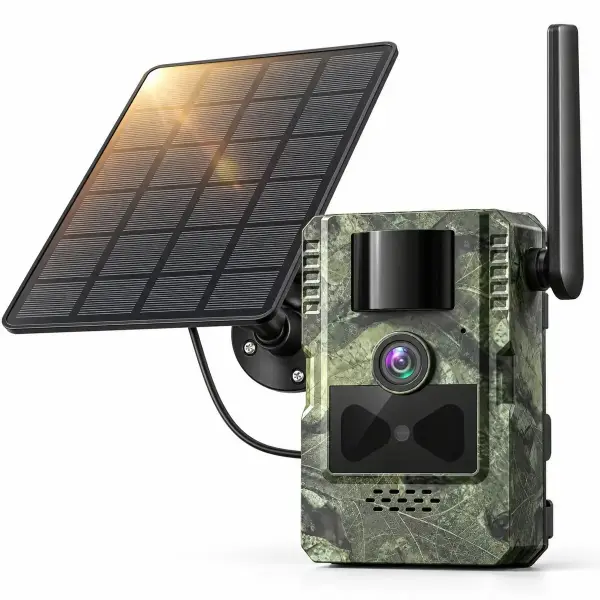
With solar models there is a trade-off: the lens should be out of the sun, but the solar panel should get as much light as possible. On the 4G Solar Trail Camera 2.7K with Two-Way Audio, the 4 W solar panel is detachable and comes with a bracket and cable. So you can point the panel at the sun and still hang the camera facing north. With models that have an integrated panel, choose the brightest possible location where the lens does not look directly into the low sun. Read more about power supply in our guide trail camera batteries and solar power.
Clear field of view: branches, grass and heat sources
The PIR sensor reacts to movement combined with differences in heat. A branch warmed by the sun and swaying in the wind can therefore produce hundreds of empty pictures. Pay attention to these points:
- No branches, ferns or tall grass close in front of the camera.
- Remember that plants grow quickly in spring and summer.
- Avoid surfaces that heat up strongly in the sun, such as stones or tarmac in the direct field of view.
- Only cut back plants where you are entitled to do so.
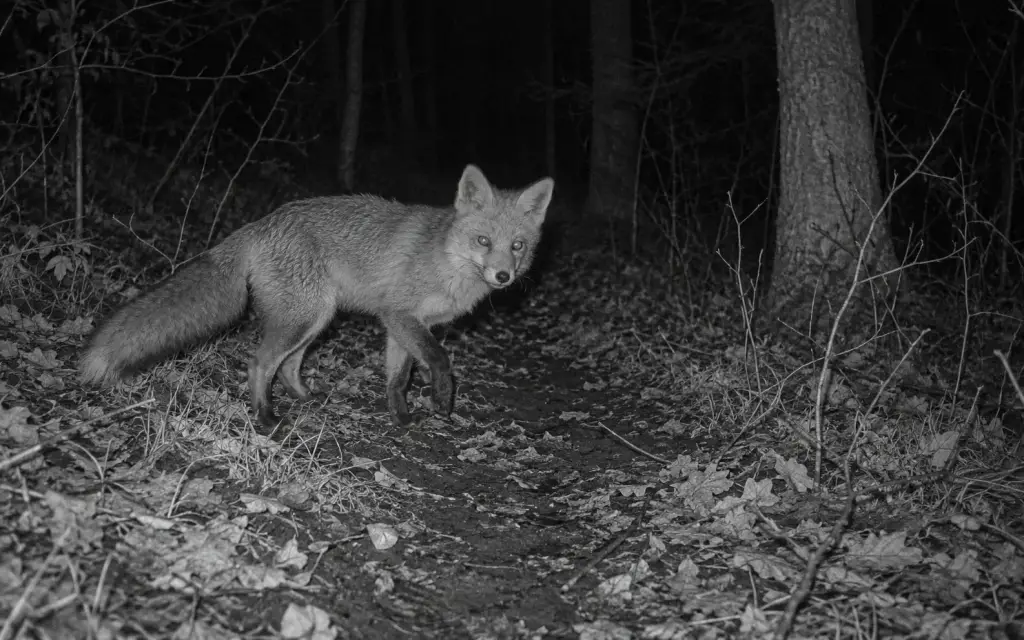
A clear field of view also improves night pictures. Branches directly in front of the lens reflect the infrared light and overexpose the picture. Details can be found in our guide trail camera night vision and infrared.
Fixing and walk test
All our trail cameras come with a mounting strap. Pull the strap tight around the trunk so that the camera does not slip. For very thick trees you may need a longer strap. In the garden, a sturdy wooden post or a fence post on your own property also works well.
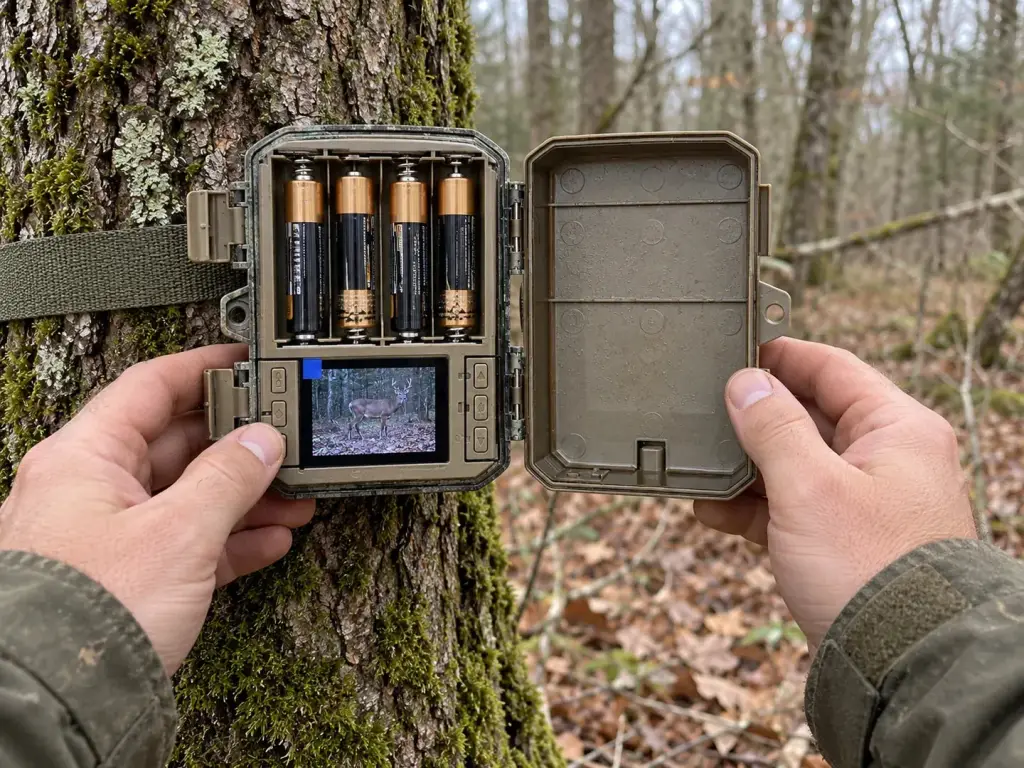
Afterwards, always do a walk test: walk through the detection zone at different distances and in different directions and check the recordings. Models with a display, such as the Solar Trail Camera with Display, show you the pictures right on the spot. With the 4G models you see the recordings in the app. Which settings are good for starting out is explained in our guide trail camera settings explained.
Trail camera theft protection: what really helps
There is no such thing as one hundred per cent protection. But you can make things much harder for thieves. A combination of several measures is most effective.
Cable lock around the trunk
A cable lock attaches the camera firmly to the tree. The mounting strap alone can be undone in seconds; a lock cannot. Pass the cable through the opening or bracket provided on the housing and wrap it tightly around the trunk. The less slack the cable has, the harder it is to prise the camera off. Check beforehand where your model offers a suitable point for a lock. To go with it, we offer a cable lock for trail cameras.
To be honest: against someone with heavy tools, even a lock only helps to a limited extent. But it deters opportunistic thieves, and they are the most common problem.
Hiding your trail camera: mounting it discreetly
- Do not hang the camera right beside a path but a little away from it, and point it at the trail.
- Use natural cover such as trunks, bushes or forks in branches, without covering the lens or the motion sensor.
- A small camera is less noticeable. The Mini Trail Camera Full HD is small and light, and so quick to hide.
- Invisible 940 nm no glow infrared does not give the camera away at night with a red glow.
- Do not leave obvious trodden paths to the camera, and do not check it too often.
- Mounting higher makes it more likely to go unnoticed. Remember to tilt it downwards then.
4G camera: the pictures are already on their way
A cellular trail camera sends every capture straight to the app when it detects movement. If the camera is stolen, you already have the latest pictures on your smartphone, provided there is network coverage at the location. You also notice the theft sooner, because suddenly no more recordings arrive. Both the 4G Trail Camera 4K with Solar Panel and the 4G Solar Trail Camera 2.7K with Two-Way Audio send your recordings to your phone via 4G. Another advantage: you need to go to the camera less often to change a memory card, which leaves fewer traces.
Marking and documenting
- Stick your name and contact details inside the housing, where they cannot be seen from outside.
- Note down the serial number and keep the receipt.
- Report a theft to the police. With a serial number, a device is easier to identify.
Metal security box as extra protection
Specialist retailers sell metal security boxes that fit around the camera and can be locked. Make sure the box fits your model exactly and that the lens, the sensor and, on solar models, the panel remain uncovered.
Legal points when mounting
Before you hang a camera in woodland or on someone else’s land, you need the landowner’s consent and, where hunting takes place, usually also the agreement of the person who holds the hunting rights. Do not point the camera at paths that people use. If people are captured, data protection law (GDPR) may apply, and a sign may be required. In your own garden: do not film the road or the neighbours’ property. Our guide Are trail cameras legal? covers this in more detail. This is not legal advice. If in doubt, ask the relevant authority or a solicitor.
Checklist: mounting and securing your trail camera
- Choose the height to suit the species, about 1–1.5 m for deer.
- Point the camera at the trail at an angle, at a distance of about 3–8 m.
- Do not point the lens east or west into the sun.
- Remove branches and grass close to the camera, where you are allowed to.
- Pull the strap tight and tilt the camera slightly downwards.
- Do a walk test and check the first recordings.
- Fit a cable lock and place the camera discreetly.
- Note the serial number and put your contact details inside the housing.
For theft protection we recommend combining a cellular camera with a lock: the 4G Trail Camera 4K with Solar Panel sends your pictures straight to your phone and works at night with invisible no glow infrared, and the cable lock secures it to the tree. You will find all models under trail cameras, with free delivery to Ireland and a 3-year warranty.
Frequently asked questions
How high should you mount a trail camera?
For deer and foxes, about 1 to 1.5 metres is usual. For small animals such as hedgehogs in the garden, more like 30 to 60 centimetres. If you hang the camera higher to protect it from theft, you need to tilt it clearly downwards and do a walk test.
Which direction should a trail camera face?
Ideally north. Facing east or west, the lens looks into the low sun in the morning or evening, which leads to backlight and false triggers.
How do you protect a trail camera from theft?
A combination works best: a cable lock pulled tight around the trunk, an inconspicuous location away from paths, a 4G camera that sends pictures straight to your phone, plus a noted serial number and contact details inside the housing.
Why does my trail camera take lots of empty pictures?
Common causes are branches or grass moving in the wind, sunlight on the lens and surfaces heating up in the field of view. A clear field of view, facing north and an adjusted PIR sensitivity all help.
What is the best way to hide a trail camera?
Hang it a little away from paths, use trunks and bushes as cover without covering the lens and sensor, and choose a model with invisible no glow infrared. Do not check the camera too often, so as not to leave traces.